


NIGHT PHOTOGRAPHY: HOW TO PHOTOGRAPH THE MILKY WAY
DANIEL KORDAN TIPS AND TECHNIQUES FOR NIGHTSCAPE
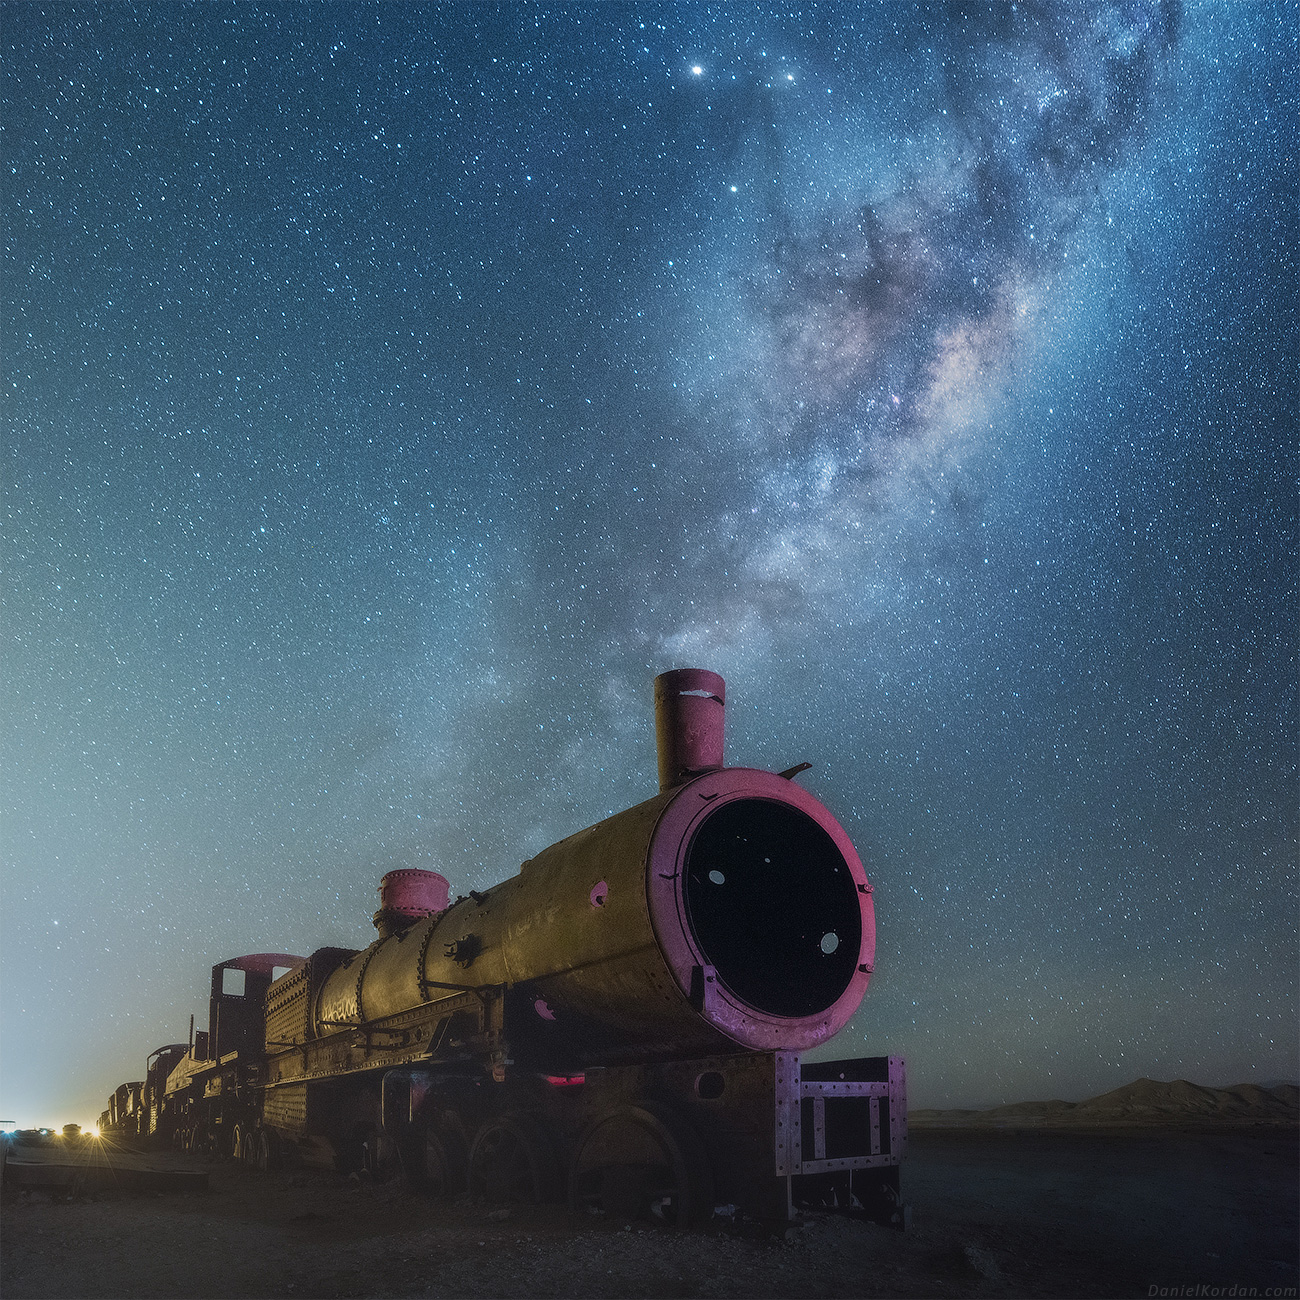
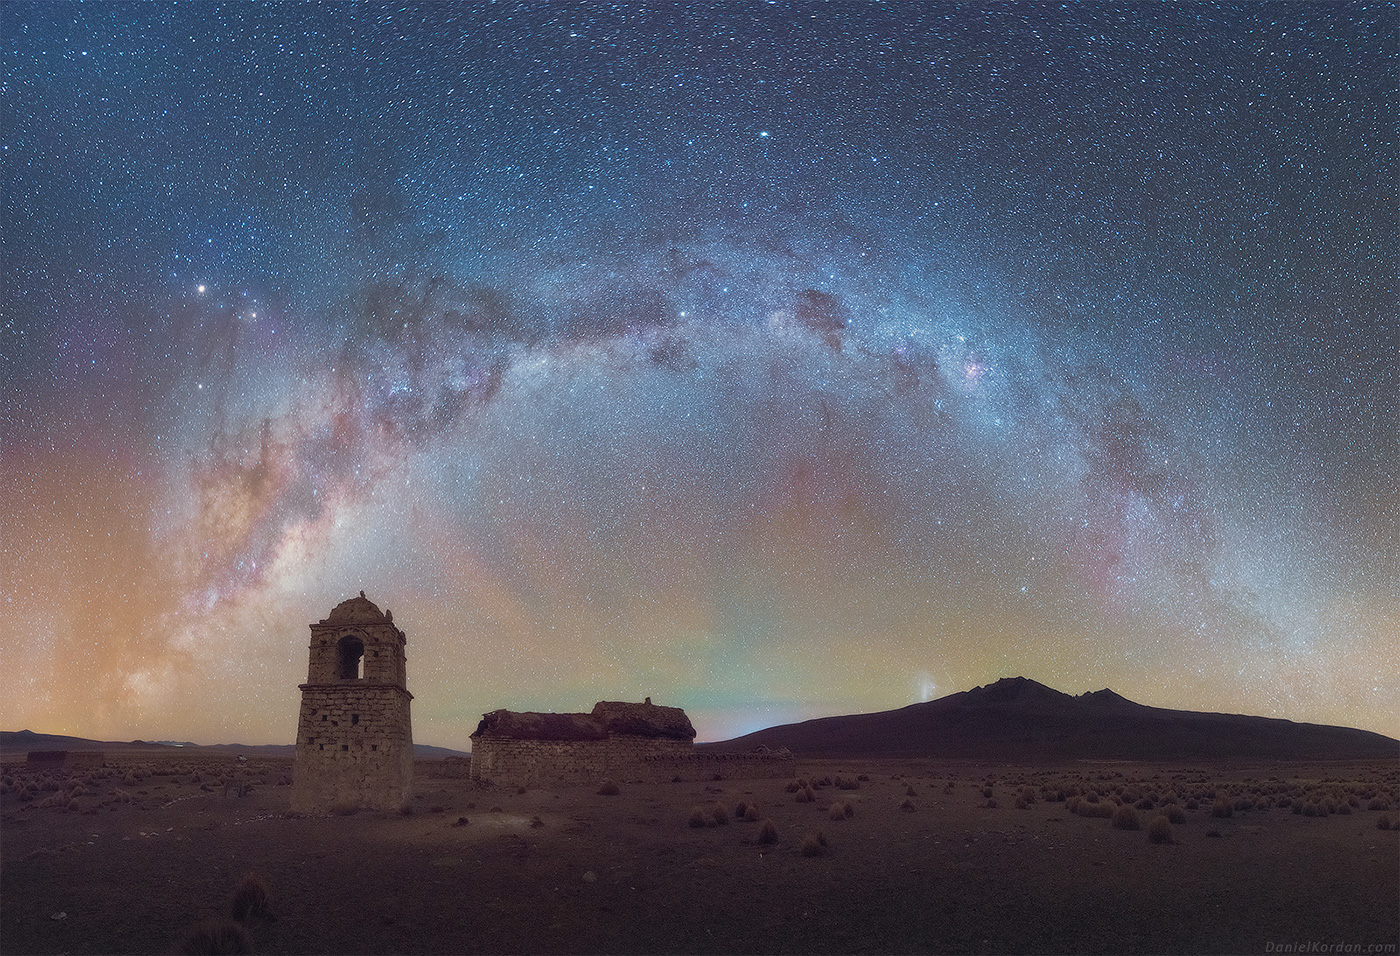
" In this article I will explain how I do Night Landscape Photography during a visit to Salar de Uyuni in Bolivia. The Milky Way reflecting off the surface of the flooded salt flats, Geysers and volcanoes under the billions of stars! "
Night photography is a photography style that allows you to capture the world by night through your camera lenses and see what your eyes cannot see. Night photos include landscape photos, cityscapes or night sky details, like the milky way or the stars.
Night Landscape Photography
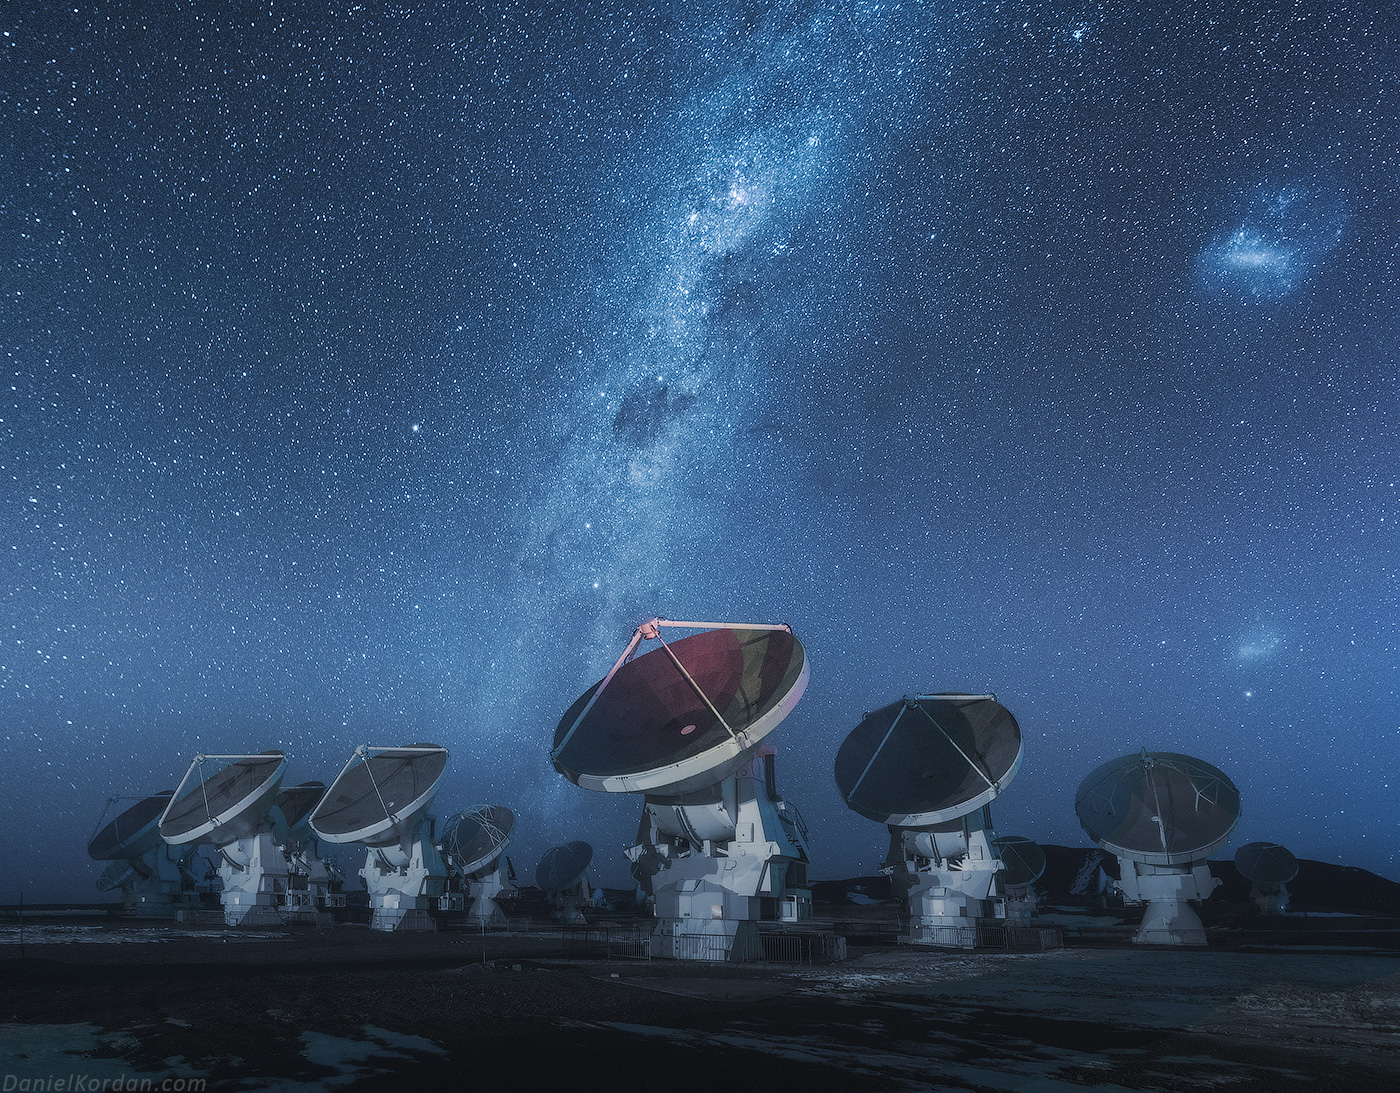
There are not so many places in the world where you can enjoy the absolute dark sky for night light photography. Light pollution is in the cities and even small villages. I studied where I can shoot the darkest skies and found this map. Bolivia and Chilean Atacama were among the best places to travel to in the Southern Hemisphere. Altiplano suits as the best possible place on Earth to observe stars. So, I planned a month-long road trip for nightscapes.
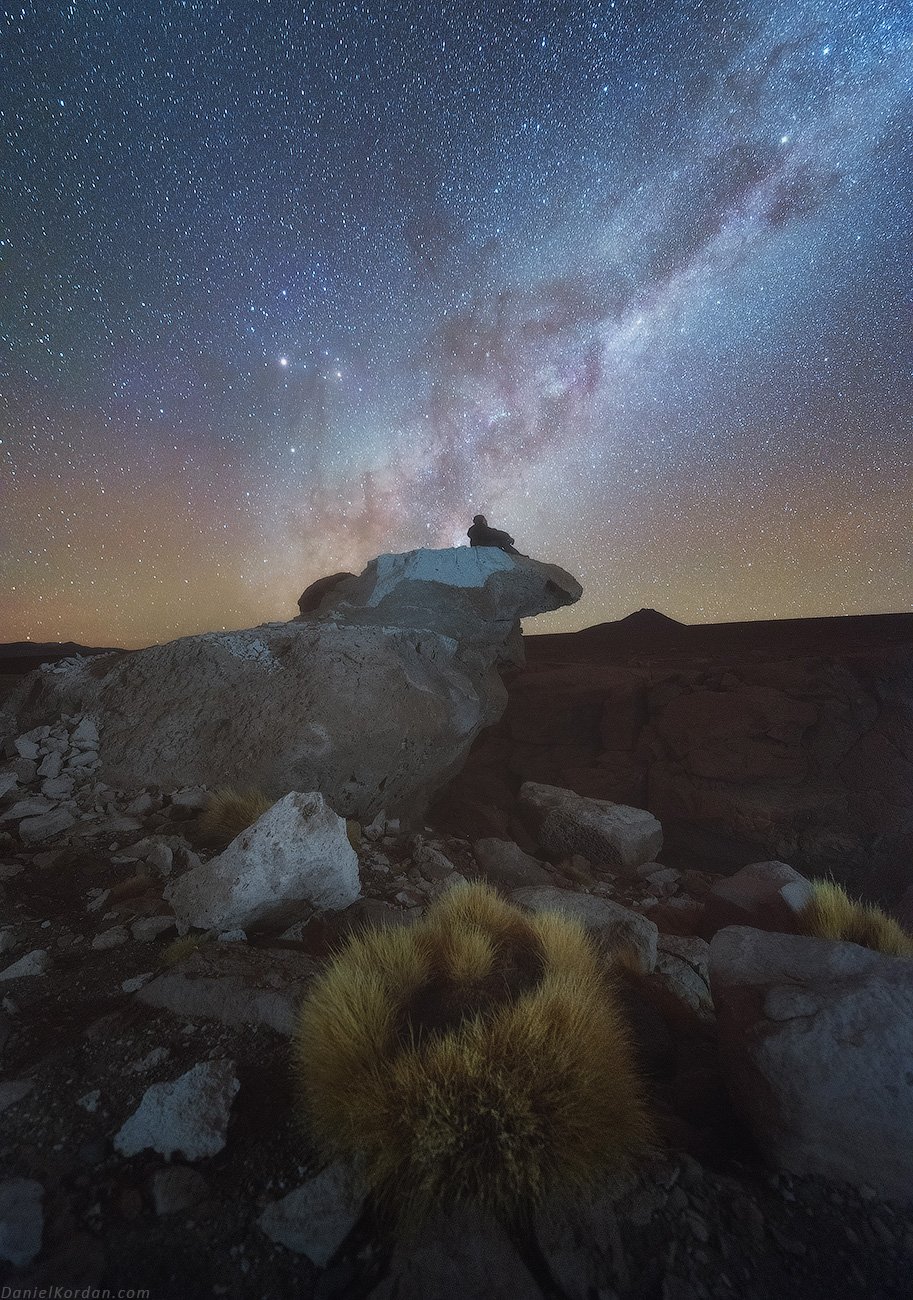
The most incredible experience was on the flooded Uyuni. It was hard to believe our eyes and senses. It seemed that we were floating in the open space. Our spaceship is parked in the distance, and stars are blinking with blue, red and yellow colours. You stand in the deep night with stars above you, aside from you and underneath! It’s space on Earth, isn’t it?
First, high elevation. Photography session was 4000-5000m above sea level. We needed 5-6 days to acclimatize and next spent 2 weeks at Altiplano, full time at 4000-5000m! Of course, it's hard to move and hard to breathe and a proper planning is needed.
It was an incredible experience to drive in the night on the flooded Uyuni salt flats. Literally you can’t see a thing, just a black tunnel in front of your car. What you feel is just how your car is going through the mess of water and salt. It’s very easy to get stuck on the dangerous surface. Usually it’s up to 5-10 cm of water above the salt, but sometimes it goes deeper. We made a GPS track during the daytime to this exact place and followed it precisely in the night. It sounds a lot like navigating an invisible maze. Without the forethought to map out GPS coordinates, we could’ve very easily become stranded during the night.
Daniel Kordan has always been fascinated by the possibilities of photography since his early childhood. He grew up at beautiful lake region under Moscow exploring wild nature, spending most of his free time in the nature...
Ambassador profile
It was an incredible experience to drive in the night on the flooded Uyuni salt flats. Literally you can’t see a thing, just a black tunnel in front of your car.
Essential Tips and Techniques
Planning
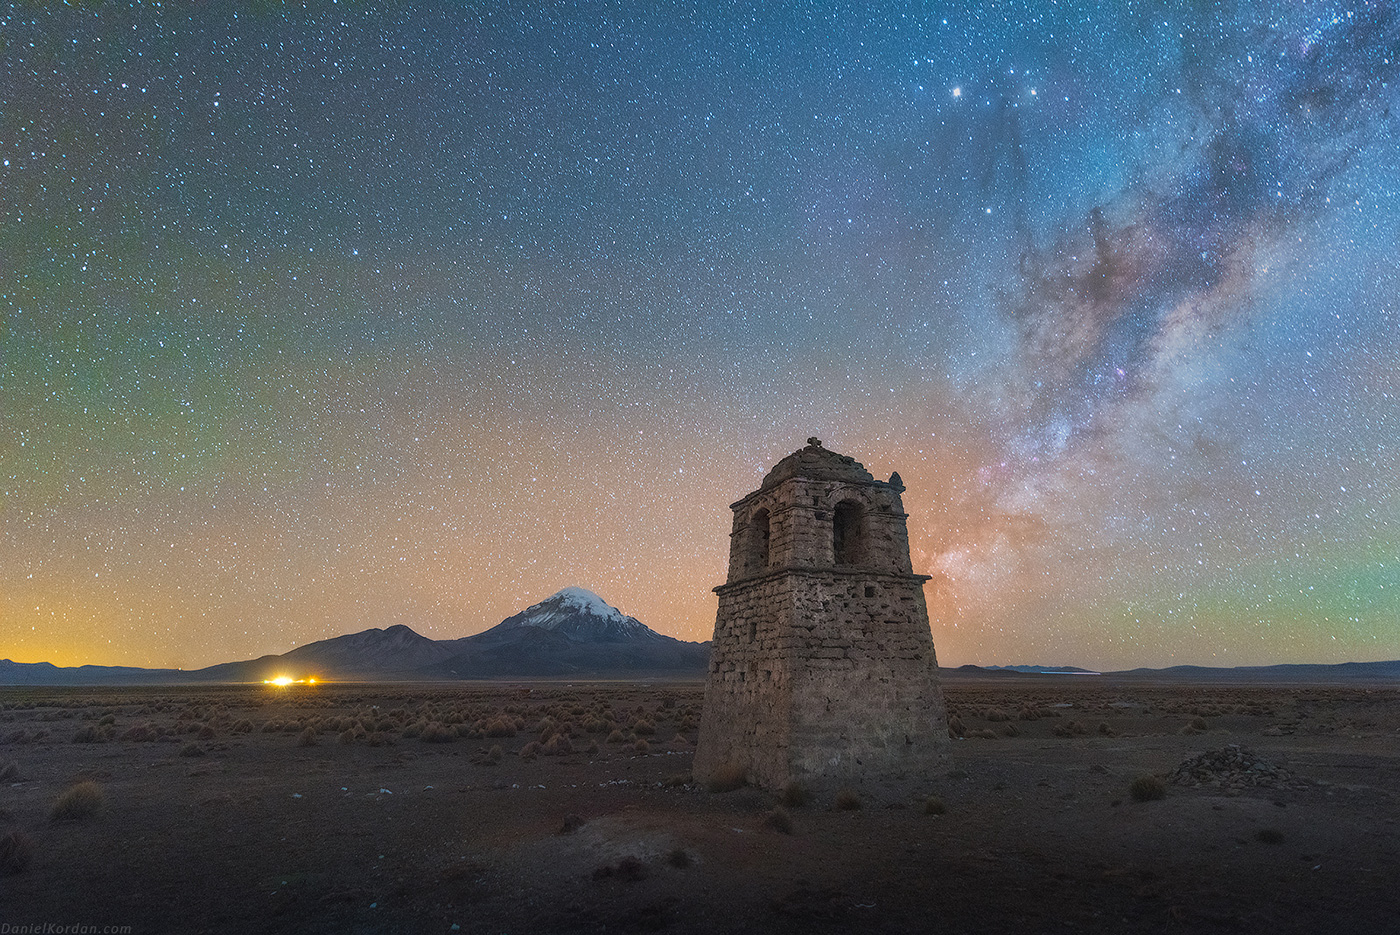
Planning is important in any location shoot, but when you’re going somewhere for two weeks, it’s vital. I often go away for a few days at a time to shoot on location. Usually my locations aren’t quite this extreme but planning and preparing ensures everybody’s safety and good images. First thing you need to plan is the position of the milky way core. In the Southern Hemisphere, the Core is also from the end of January to October. In the Southern Hemisphere you can enjoy better conditions than in the Northern Hemisphere. Most of the Milky Way season falls in winter. Cold temperatures will help you get amazing sharp stars.
In the Northern Hemisphere Galactic Center can only be visible from latitudes between +55º and -90º. If you live above +55º, you won't be able to see the Galactic Center. The Galactic Center is visible from March to October and not visible from November to February. The Core is not visible in November, December and early January In the Northern Hemisphere.
Shooting and Settings
In Night photography, we need a long shutter speed and steady tripod like
. I use the rule of 500 to calculate shutter speed according to my lens. Let’s say if I use 20 mm divide 500 by 20 == 25 s. You will need 20 S of shutter speed. What will happen if you put more? You will have star trails! So you can use the rule of 500 to have your stars as dots.
If I shoot star trails, I use from 200 photos with 20-25 s each with 1 second interval between. Then blend them all together later. ISO should be between 3200 to 6400. Of course, it causes a lot of noise, but you can either shoot 5-10 frames and then average in PS using a median filter. Or reduce noise in Topaz denoise filters for PS.
As for aperture you can use it as open as possible. Better to have the proper lens with aperture 1.4 or 2.8. Lenses f/4 are already not that nice for nightscapes. They are simply dark.
White balance - put it on 3500 K (in Kelvins), custom WB menu.
While shooting be careful with focusing, that is the main issue for beginners. Focus on the separate bright star or distant light. Alternatively, light up the foreground. While composing the scene very often I use headlamps (just simple Petzl headlamps) to light up trees, foreground - from about 45-60 degrees aside (not flat light from the camera). Or I wait for blue hour and make a shot from the same position of the tripod to blend with the stars later in PS.
Processing night photos
For most cases I prefer to make a single shot, because I make panoramic images. Normally I do not use any trackers, but sometimes do 5-7 images and average them in PS to minimize noise.
My post processing is simple. Most of the photos are panoramic images, stitched together in PTGui and slightly processed in Photoshop (contrast in curves). I use Dehaze tool and color corrections using Luminosity masks to bring color from the milky way. If needed I blend 2 photos from blue hour and Milky Way. I never do composites, just leaving the tripod in the same position and blend with the Milky Way I shot earlier from the same spot using the same lens. For denoise I use Topaz denoise.
Best Tools to Night Shooting
The entire series was shot on:
- the Nikon D810a camera with 14-24mm f/2.8 Nikkor: It’s a special astrophotography camera, which is why you can see so much color in the Milky Way
- sturdy is ideal among movement will be done even for such long exposures. Using a sturdy tripod is a key to success in night photography.
- Nikon Z 7 + new 14-24 nikkor S 2.8 lens